Showing posts with label stamping. Show all posts

Saturday, 28 March 2020

How to upcycle a Bisto Tin

I have really enjoyed taking empty containers and turning them into little pieces of art, so much so that I have created a little video to teach you how to play along.
This is what I made:


The video shows me making the seahorse container but you can make it with any stamp.


Here is the video. Hope you can craft along with me.
Watch out for the next Call To Class on Facebook on Tuesday and the next class on Thursday. Enjoy xx

Wednesday, 11 March 2020

Mug class coming soon

Yes I have two addictions at the moment, the first is the amazing Pink Ink Design stamps and the second is MUGS.

I was at the crop at Crafty Friends The Oast at the end of February when I suddenly decided to see how hard it was to stamp on a mug. It took a bit of practise but it turned out great and I've been hooked ever since.

Here are the samples I have made for the class
which is being taught for the first time at Crafty Friends The Oast crop on Saturday 28th March.

I haven't shown the backs of the mugs yet so here are a few I have finished.


I am planning some more classes in April during the day so if you would like to have a go please message me using the link on the right of this page. 
Thank you for looking xx

Thursday, 13 February 2020

Birthday Girl

Last of the three cards this time round. I loved how easy this card was to make. It can be made using so many different dies, punches and dies and coloured in any colourway.
I added additional flowers to give more of a 3d effect without making the card too thick.
I'm planning to make more of these so I will share as they are completed and after card class of course xxx

Wednesday, 12 February 2020

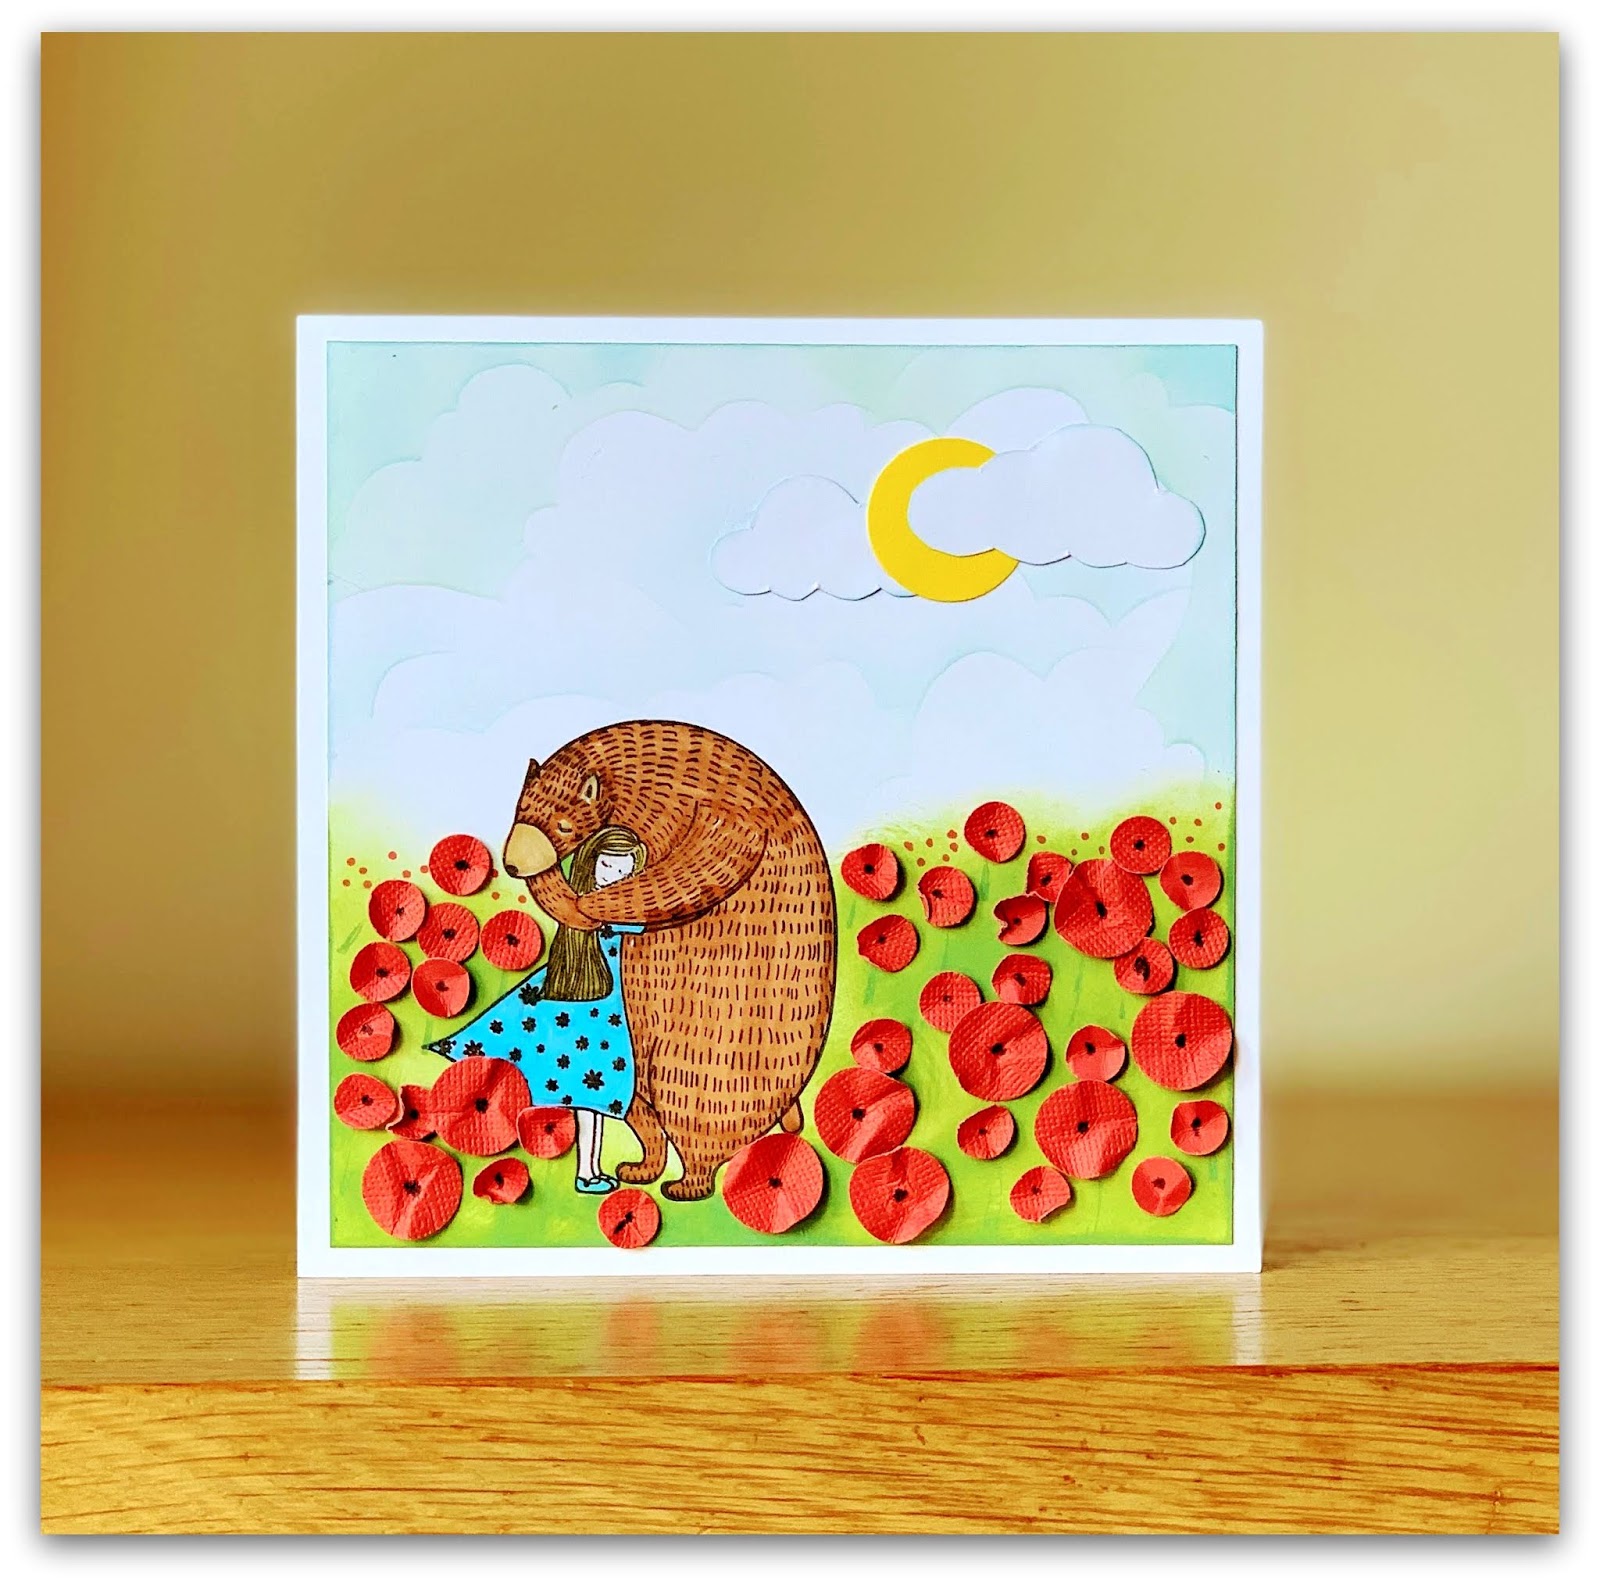
Sending Hugs

Card two and this time I used an old free stamp from a magazine.Unfortunately I have not kept the name of the stamp but it has definitely become one of my favourites.
The sky was made using HobbyArt's cloud stencil and Tumbled Glass Distress Oxide. 
I used Mowed lawn Distress Oxide for the grass and then punched out two different size red circles, crumpled them and stuck them to the front of the card using PVA glue. A black dot in the centre finished them off.
The two figures were coloured in using ProMarkers.

You can see this same idea used in my Art Journal HERE. 

Tuesday, 11 February 2020

Cool Mule

Card One from card class on 5th February and I used Pink Ink Designs wonderful Mule stamp and Marta Lapkowska's new stamp Flower Shine. 
Everything was coloured in using ProMarkers.
The mules head was decoupaged
and gems added to Marta's stamped background. Loved using both of these stamps. You can find links to the stamps below:

Maremi's - Flower Shine
Pink Ink Designs - Cool Mule

More tomorrow xx

Sunday, 9 February 2020

Our Mum

In 2020 I intend to do layouts covering all members of our family so that I can add to my Family Memory Album. Number one on the list was Our Mum especially with Mothers Day fast approaching. I thought perhaps this would be great framed and given as a gift.

This is layout number one for Scrapping Your Family on 1st February. 
The pink flowers are made from tissue paper painted with pale pink acrylic paint and when dry, crinkled and assembled into flowers.

The hydranga is a stamp and an EK Success confetti punch (as used in January's card class example)
 Only one of the two tags is removable. the other is stuck in place under the torn photo mat. X

Saturday, 8 February 2020

Card Class January 2020

I only teach one card class a month at present so I tend to give some choice when there are quite a few class mates.  Here are the selection from class on 5th January.

Thanks So Much
Happy Birthday
Happy Birthday Mice 
Cat Cards


I don't normally make five cards for class but I got a bit carried away lol. x

Friday, 7 February 2020

Family

The second layout from January's Scrapbooking class. Nice and easy because of the painting on the other layout which I knew would take time.
The idea for this one came from a page in a mini book that I made over 9 years ago. So simple that it can easily be used to make a little mini book for a wedding or other special occasion.
The flowers and butterfly were stamped and added to the layout using silicone glue with little pearls in the middle of each flower.
The tag is only a dummy ie just a little bit of a tag at each end. Will definitely use this one again. x

Thursday, 6 February 2020

We Were So Young

January's Scrapbook Class found all of my classmates dabbing washing up sponges in red paint and making these lovely, random flowers.
A small acrylic word stamp added the detail to the flowers and the detail stamps is by AALL&Create.
The little circles were stamped a second time, punched out and added back on the layout using sticky foam pads. x

Wednesday, 5 February 2020

New Years Resolution

I am a great fan of black and white layouts so I couldn't resist using my stamps to make this second layout for January's SYF class.
The double circle is sewn in black thread and I added two small strips of black.
This is a fantastic way to use some of those stamps hiding away in your stash. x

Monday, 23 December 2019

O'Christmas Tree

I chose two cards this year and made loads for family and friends. I think I made over 80 before I ran out of steam. This was the first.
I made all of the tree toppers first and then mounted and decorated afterwards.
The second was this one
Not everyone liked this one when I taught it in class but I found it easy to make and therefore easy to replicate again and again. The Santa image is a stencil and both Santa and the background were done using Distress Oxides.
I am definitely going to start making Christmas cards earlier next year.

Wednesday, 23 October 2019

When It Rains

I am a collector of some of the stamps from Lavinia Stamps. Admittedly I am not a big fairy/fantasy  fan but as you can see, there are more than enough background stamps  to collect. 
Another black and white stamping layout but again it is a great way for class to practise their stamping skills.
I added little stamped red hearts to the toadstools and tucked the photo behind a few of the cut out toadstools.
Ivy and of course the little tree houses
The wording was also stamped on paper, cut out and then added to the layout. 
Class photo
You can buy all of Lavinia Stamps HERE x

Tuesday, 22 October 2019

Summer Photos

I am definitely short of seaside layouts and I especially love anything to do with the creatures under the sea so this was a no brainer. 
Two simple circles make a good focal point with just simple needle holes around the circumference which could be sewn with thread if wanted.
from the picture you can see I edged the circles with Distress Ink.
All of the seaside elements were coloured in using Distress Oxides.
Class photo
Loved making this. More tomorrow. x

Monday, 21 October 2019

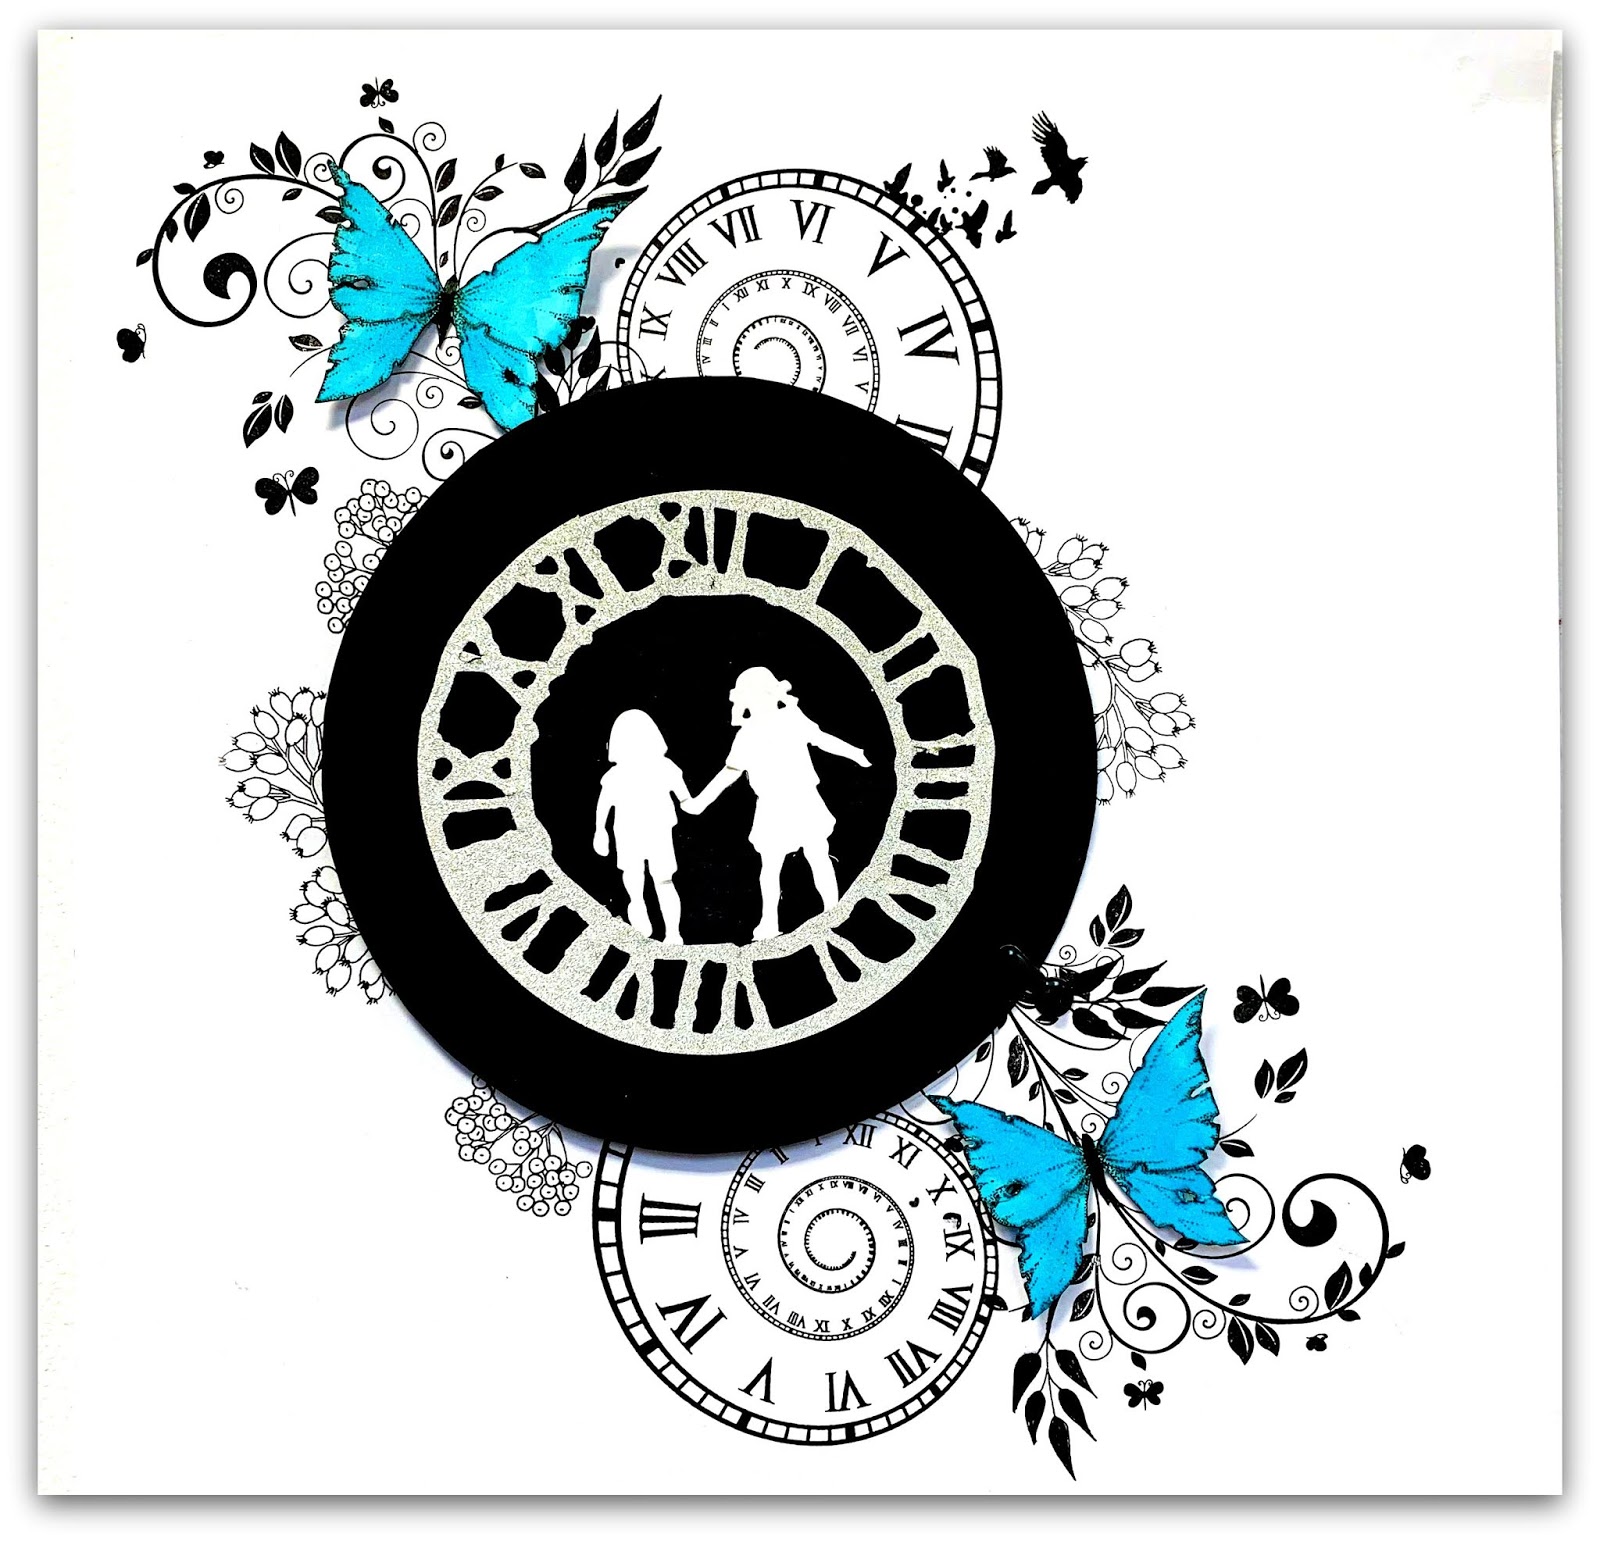
Somewhere in Time

Taught this class to my Tuesday night group in September and they loved it. The nice thing is I could use a mishmash of stamps that I already had in my stash.
 The beauty of this layout is that the circles move allowing more photos to be added to the inside, the number depending on the number of circles added.
The blue tattered butterflies are my go to and my favourite set of butterflies.


I printed all of the photos in black and white and used a turn and a brad to keep all of the circles in place. 
Class photo
xxx

Saturday, 19 October 2019

The Deer Family

I'm sure you are just like me and have loads of dies which are shut away in a cupboard and forgotten. These next two cards were made using two Sizzix strip dies, Woodland Deer and Gingerbread Men with Hearts (I think both are discontinued but you may be able to get them on EBay or Amazon)
Here is the first one. The clouds were made using the cloud stencil from HobbyArt.
The deer and trees were coloured in using proMarkers.
The second card I have used a scrapbook paper as the background and coloured the diecut using ProMarkers. 
I added little silver hearts hanging from the trees and drew the strings in using a thin black pen. 
Class photo
If you want to stencil and the two others that I use you can find them HERE xx