Friday 26 February 2016

Easy Numbered Birthday Cards

I often ask in class whether anyone has any birthdays coming up amongst their family and friends, so that I can maybe do a card in the next class which would suit.

At the last class everyone said it would be useful to have a special birthday card and as the conversation went on it seemed like more than one person had two or three special birthdays to make cards for.

With this in mind I decided an easy numbered birthday card would be just the thing. Here is what I came up with
I cut out lots of different numbers and everyone chose what they needed. Here are some of the class makes


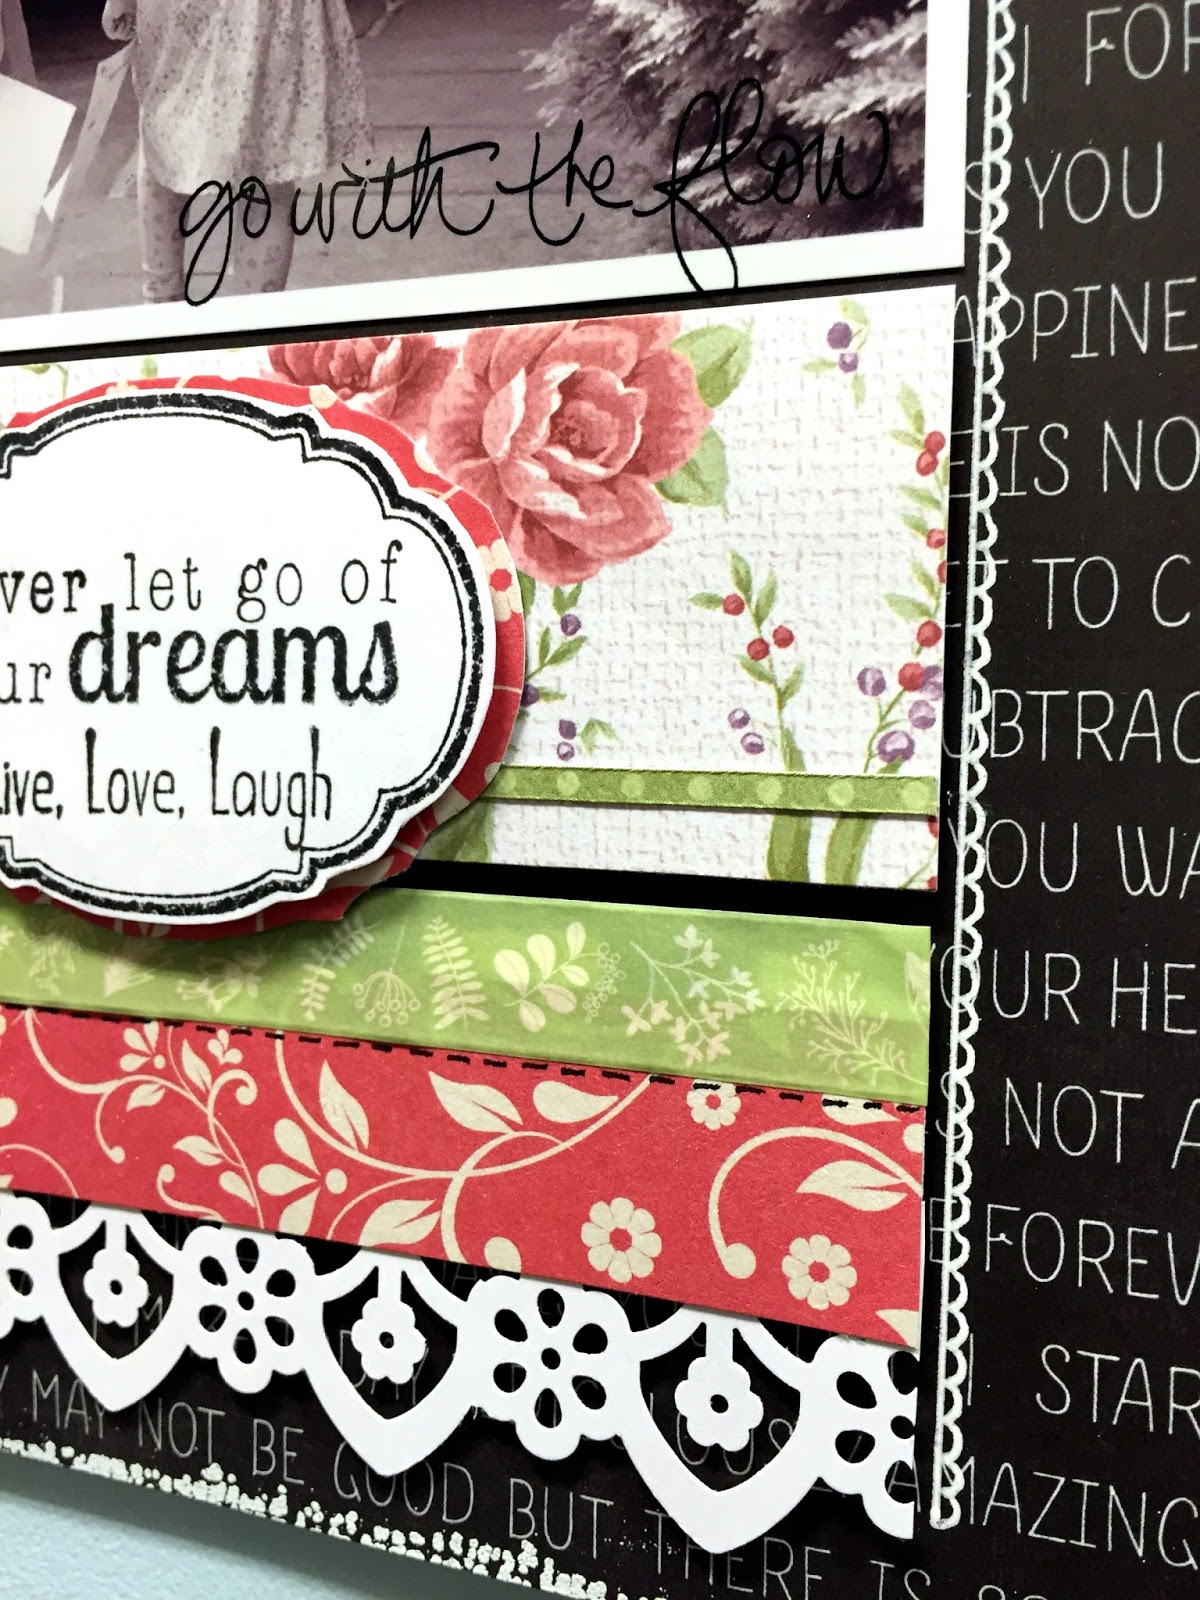
And a bit of detail.....you cant see it but this card was glittered up and it looked fantastic
and of course, you can use this card for any birthday
I am going to have a go making some kiddies cards at the crop on Saturday using the same idea. x

Thursday 25 February 2016

Never Let Go Of Your Dreams

The second of Tuesdays scrapbook layouts use some lovely coordinating pink papers however it would also be a good way of using up scraps that you have kept from previous projects.

Once again you can see and hear a bit more detail by watching the Periscope broadcast taken in the class (see yesterdays link).
Love this punch. Looks so much like lace.

Theres a card class later on today so I'll post the cards over the next few days. x

Wednesday 24 February 2016

By The Sea

I really enjoyed yesterdays class and I especially liked the seaside theme of the first layout.
The photo is an old one of my mum and its one of those moments I remember so well as we spent every summer down at Dymchurch in a little bungalow. It backed onto sand dunes and once over the top there was miles of sandy beach and the sea.
 All of the die cut shapes were cut on the scan n cut and the wooden fence was cut from the fantastic distress wood paper in the kit.
And I made a great discovery as well. Addicted to gems as I am, I went mad when I found the clear gems in the wedding section at the range. They are normally used to scatter on tables but I found that by utting them in a jar and adding just a few drops of Alchol Ink, they change colour to suit your project. Result.
Now if you want a laugh, I tried a Periscope broadcast from class for the first time so that the ladies who were not able to come through illness, could see what we were up to.

You will need to download the app but you wont regret it. So many people are now broadcasting, I've see all the new products at CHSI (the UK Trade Show for all crafting goodies) this week and I havent left the sofa. 

Scrapbook Class Feb 2016 from Ladies That Craft on Vimeo.


Layout two tomorrow xx.

Friday 19 February 2016

Don't forget the Crop/Craft day on Saturday 27th February. As usual the day will start at 9.30am and finish at 4pm. Entry is £10 and include entry, tea/coffee and cake all day. 

I know that some of you have commitments on Saturday and have asked if you can come along on the day. Of course you can, that is not a problem. We would love to see you.

You can bring along anything to do on the day like knitting, sewing, Scrapbooking, Cardmaking etc and it is a good opportunity to see what others are doing and have a good chat and catch up with old friends and make some new ones.

A make and take will be available on the day plus Scrapbook Kits with full instructions for you to buy on the day if you want to.

Please email ladiesthatcraft@live.co.uk to book your place.

It is a great, relaxing day so why not come along and join us. xx

Thursday 18 February 2016

The Best Times

With a background paper like this there is very little you need to do to make a lovely layout.

The brackets are punched from a large woodware punch which has been in my stash for ages and not used nearly enough.

and I very rarely use coloured flowers on my layouts. They are normally white and coloured to match the papers but I am experimenting and I think that these work.
The leaves I bought from the Range. They had bags of 50 leaves for £1 and they look very realistic. They do not colour very well as they are silky and have some sort of coating on them, but next time I will paint them with Gesso and then colour.

To finish I added some word and saying stamps that I recently bought.

These kits will be available to buy at the CROP on 27th February and on the Ladiesthatcraft Facebook page. More tomorrow xx

Wednesday 17 February 2016

A Mans Card?

Or for a friend? Either way, this is a cheeky card, is easy to make and so much fun.

Do you remember the dog card I posted a few days ago made from hearts? Well this is made in the same way, using a big heart as a template or the main card.


 The decoration couldn't be simpler and as a bonus, you can use your scraps to make the bra. A few gems for a necklace and youre sorted.
I hope you've enjoyed the cards over the last few days. I am posting a few scrapbook layouts from tomorrow. xx

Spring Daffodil Cards

The colouring craze has really taken off and there are loads of ways to use uncoloured images in your cards and scrapbook pages. I stamped these images but you could just as well cut out an image from a colouring book.

I kept the coloured image within the aperture of the tag and added the tag to the card using sticky foam pads.
To add a bit more detail you could decoupage a few of the flower petals in place. Adds a 3D effect.
To finish I stamped a daffodil on the front of the envelope.

Tuesday 16 February 2016

Sweetheart Dog

I was looking through some of my old magazines and came across a selection of cards made from hearts. You can find a load on Pinterest too. 

This one really caught my eye. He's so cute.


The main card is made by positioning a heart shape on the fold of a 8" x 8" card and cutting round, making sure that you leave a 1 1/2" over the fold so that it doesnt fall apart.

 The ears, nose, eye and even the tounge are made from hearts with the eyes being punched from a 1" and 1/2" punch.

You can make loads of different animals by changing the shapes you use to decorate it. Great kids card. xx

Monday 15 February 2016

Four Trees Card

This card is really easy to make and also makes a great wedding invitation (in different colours of course). You can also make it with scraps as well which is a bonus. 

The background colour is embossed with a dotty embossing folder.
The main image is stamped and then coloured using promarkers (I used marker which were running out to give a mottled effect).
The greeting is very small but looks just right down the side of the card.
and to finish I stamped a little tree on the front on front of the envelope. Liked this one.

Sunday 14 February 2016

Hydrangea card

Yes more flowers and nice and simple this time. The detail on this stamp means that you only need to colour it in and add minimal embellishments to make a special card.


The phot doesnt show it very well but the stamped image square is matted twice onto the white card giving it a nice crisp look.

I added little pearls to make it pop. A stamp to use again and again to make really classy cards.

Saturday 13 February 2016

Botanical Butterflies

There is something really wonderful about butterflies and I love the way that they are displayed in the old botanical books so when I saw the Butterfly collage stamp (code butte) by Technique Tuesday, I had to use it in card class.


 The text is already part of the stamp so I stamped it twice, once onto card for the front of the card and again onto watercolour paper.

The butterflies were coloured in on the card  and the ones coloured in on the  watercolour paper were cut out and stuck in place by bending the wings and putting glue only the body of each butterfly.


If you want to keep the butterfly wings raised then put a small piece of sticky foam tape under each wing.

The bonus was the little stamp I used for the decoration and the top and bottom of the butterfly panel.


This was from a bargain set of stamps from The Works which cost me £1. Its a cracking set and Im sure I will use it again and again.

More tomorrow xxx.