Showing posts with label Die cuts. Show all posts

Tuesday, 4 February 2020

Dear Diary

First layout of 2020. I made this as one of the layouts for January's Scrapping Your Family Class.
In the photo it looks flat but in reality there are several distressed layers and the flowers are only partially attached to make them look more like a bunch of flowers. I made the little book and added my New Years resolution to it.
The flowers are die cut from a Tim Holtz Die and coloured in using Pro markers. It was a good first class and so nice to see everyone again. x

Sunday, 20 October 2019

Snowflake Christmas Card

So very simple and believe me the photo does not do this card justice. All made from die cuts and a lovely snowflake background paper and then blinged within an inch of its life.
A stunner and a real statement piece. I used Glamour Dust to give the sparkle and a gem in the centre to finish it off. (You can buy Glamour Dust HERE)
Class photo
 and believe it or not I took a video.
There is so much more to come. Have a great day xx

Monday, 26 August 2019

If Flowers Were Friends

This was my first time using this Die Creative Expressions Paper Cuts -Sunflower Edger and to be honest I was at a loss as to how to use it. It didn't take long though, I put my brain in gear and played for a few minutes and this is what I came up with.
 The secret is to die cut the edger in white and make sure you keep ALL of the pieces.
Choose a background and stick your edger in place. At this point you can start colouring the design in. I chose to colour the loose leaves and stick them back into the design.
Lastly I fussy cut the flower heads from a second die cut and stuck them in place to create a 3D effect.

I've ordered a few Christmas Edgers so I'll post the results nearer the end of the year and after the card class of course lol. x

Monday, 15 July 2019

Art - Human Skill Layoout

You have no idea how excited I was when one of my class mates Margaret let me have a copy of this photo to make into a layout. The picture is of her great grandad showing off all of his wonderful tattoos.
 So what stamps did I go for? Well it just had to be AALL & Create and they worked so well.
 I used die cuts for the pipes and the clock and I stamped onto the photo as well. (just in case you're wondering, the photo is a black and white copy)
Everything was distressed using Distress Inks including the colouration on the pipes.
I used the following:
AALL & Create 116 Industrial Script 
Distress Inks Rusty Hinge, Old Paper, Vintage Photo
Archival Black Ink 
Sizzix Bigz Die - Pipeline

Saturday, 23 February 2019

Tim Holtz Flower Die

So once I had made the card using these dies I was so pleased with the result that I decided to use them in a scrapbook class.
Now I am not a fan of yellow mainly because it is a colour I can never wear (makes me look all pasty faced) but in this case I think it really worked with the purple.
I stamped the background doily with a scrip stamp.
and the flowers I coloured in very simply with Pro Markers
and the layout was finished off with a Martha Stewart border punch. Enjoyed this one xx

Sunday, 10 February 2019

Birthday Card

New Years resolution was to keep both blogs up to date and I'm already behind lol. Never mind. Onwards and upwards. 
Today I am sharing one of the cards made in Wednesdays card class.
I love the bright colours and these beautiful new die cut flowers by Tim Holtz. I think the border punch is a Martha Stewart one but not sure. Everyone coloured them in their own way.
and before I forget, a big welcome to our two new ladies Chris and Dawn. Glad you enjoyed your class and look forward to seeing you next time xx

Wednesday, 2 January 2019

Winter Wonderland

I had already made a winter layout for the Scrapping Your Family class so I thought I'd better do one for the Tuesday Scrapbook Class. The result was Winter Wonderland
 All of the decoration was made using either die cuts or punches.
 Winter Wonderland was also a die cut
 The background was made using Finns paper paste and a snowflake stencil. The paste is a bit drier than a normal paste so ideal for using on scrapbook paper.
 To finish I used tiny punched hearts
The whole thing was glittered after it was pieced together. x

Wednesday, 18 July 2018

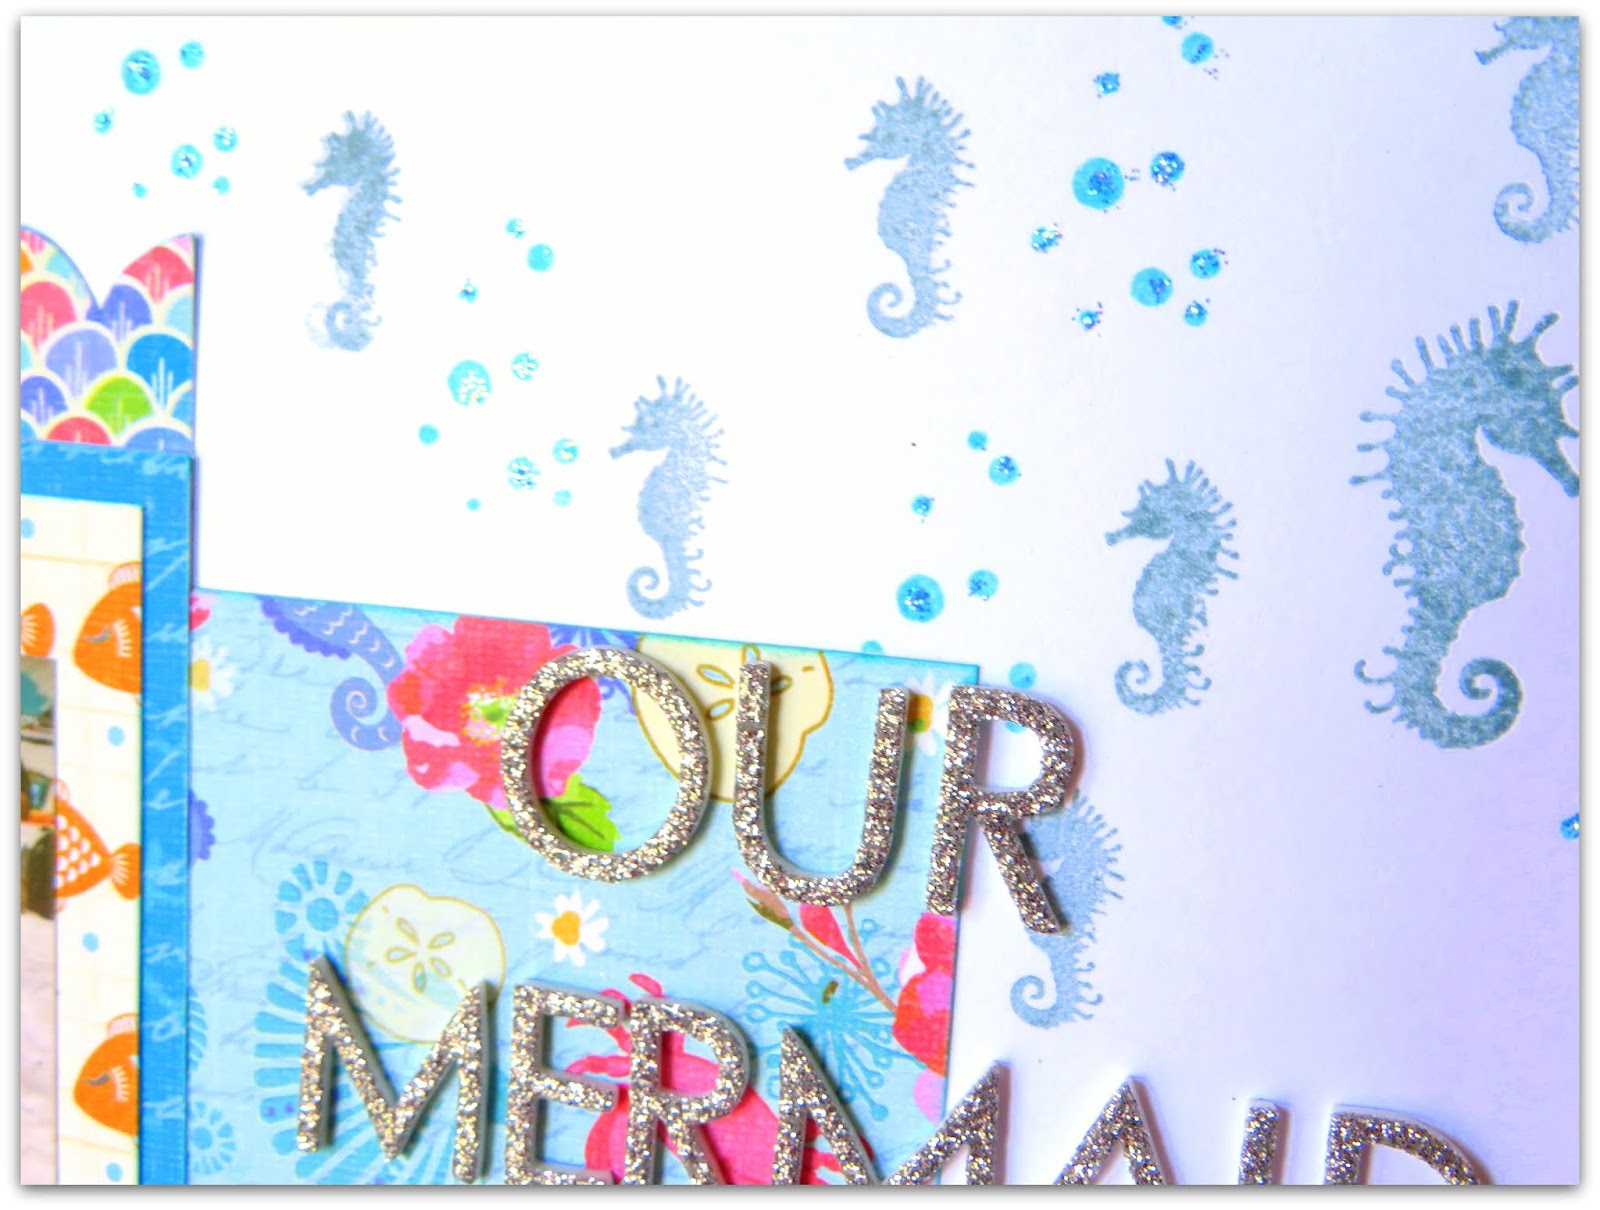
Our Mermaid

The last of the class layouts today. Again the main focus was on the handmade embellishment, this time the beautiful mermaid.

The little sea horses were stamped onto the page  as were the bubbles which were then topped with stickles to make them sparkle.
The die cuts were all coloured using pro markers
and I also added some stickles onto the mermaids tail.
Still loving these papers x