Layout two was making a background from stamps.
We used the A4 background stamp from AALL & Create which is super amazing and you can find it HERE. If you look closely you will see I coloured in a small amount of detail with a wet glue and embossing powder.
Using glue means that the gold dried raised and made it look really cool.
Adding the coloured hexagons finished off the page. What would I do differently next time? I think I would heat emboss all of the background and use watercolour paint to add a colour tint to the page.xx
I just fell in love with this beautiful range from Graphic 45. Absolutely captured the feeling of sun, sea and sand and so easy to use. This was the main layout for Junes Scrapping Your Family Class.
Loving those sea turtles fussy cut from one of the papers in the kit
and of course the amazing stamps of suitcases, Camera and leather bag, not from Graphic 45 but from Penelope Dee. The stamps are so detailed that even a beginner can colour them in. We used water colours in class.
The camera aperture was just right to add a photo. I will definitely be buying more of Penelope Dee's stamps in the future. I bought them from "Snazzy Stamping and Scrapbooking Ltd. There is no online shop yet but you can find them on facebook HERE and you can order via facebook site. x
This is the second stamp of this couple I have bought and I think they are fantastic. Easy to colour in and very effective with just a minimal background.
I must admit that i did watch a couple of You tube videos to get this card looking like this but I did learn a lot and will definitely use this technique again.
Flowers are made using a punch and the stems are hand cut. Everyone in class liked this one.
And here are the three class samples together. x
So easy yet so effective and this technique works with all silhouette stamps. I used three different Distress Oxide colours and then spritzed with a fine spray of water.
When dry I chose the area I wanted for the background and cut it to size. Next I stamped the zebra in Black Versafine ink.
To finish I added two black strips of card and a stamped border. Any greeting could be used on the card. xx
This wonderful flower stamp is from a set by Hobby Art Ltd and because it has so much detail it takes very little shading when colouring in.
What I particularly like are the individual petal stamps, four in total, which allow you to layer up the hydrangea head.
and the lovely small butterfly which stamps beautifully.
All colouring was done with Distress Oxides and Pro Markers with a tiny script stamp used on the background in Archival Ink Watering Can.
You can find this gorgeous stamp set HERE.
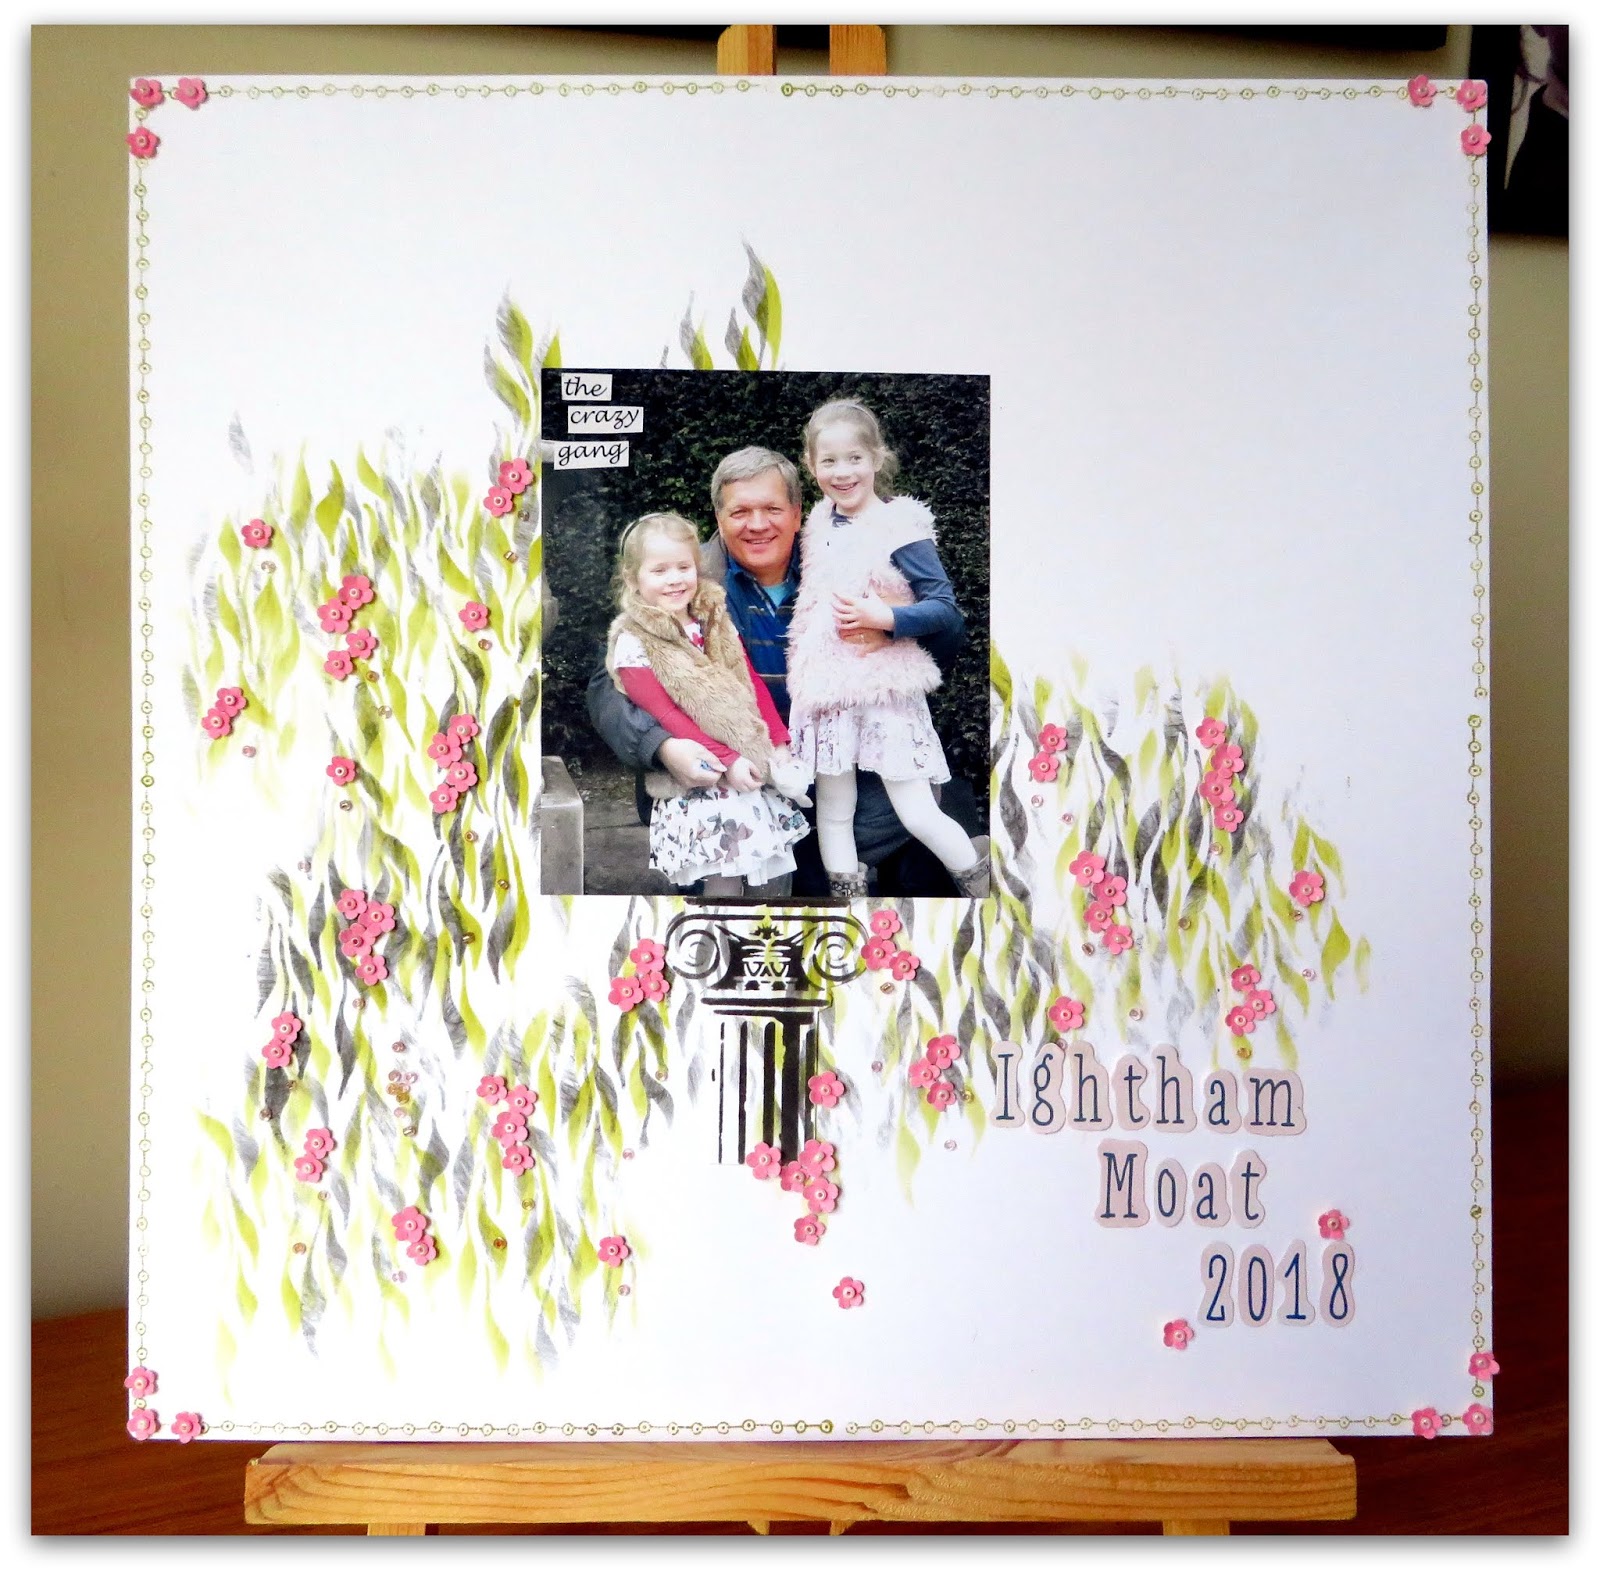
Layouts for Mays Scrapbook Class were a bit different this time as I wanted to use stencils and punches to make a layout. The Tuesday night classes only run for two hours so class mates rarely get the chance to get all inky. I thought it was time I changes that and here is the class example I came up with.
We started with stencilling the background first in black Distress Ink and then in green to give a falling vine effect.
Then we stamped the column in the centre for the photograph to stand on.
then we added a border and tiny punched flowers all over the vines and at the four corners of the layout and to finish, tiny seed beads to the centre of each flower. Lots of detail but well worth it xx
Whenever I get new stamps which I intend to use in my Art Journal I try to make a card from them to show the uses of each stamp and their adaptability. These are the two examples I made however as these were in a choice of 4 different cards, no one chose to make them lol
Personally I love them and the stamp makes a great quick card for a young girl. What do you think? More soon xx