Sunday 22 July 2018

Minibook for June 2018

When a new little one joins the family there are hundreds of photos taken by all of the family. I wanted to keep a book per year for not only my Great Niece but also for all of my grandchildren. The thought of making all those mini books filled me with dread until I saw and bought Eileen Hulls Wrap Around Journal Die. 

This is the Mini book I made in Class as part of the Scrapping Your Family Special Edition Class.
Instead of an elastic closing I used a belly band Decorated with washi tape, die cut flowers and a stamp with the month on.
The cover of the book was covered in blue cardstock and the edges reinforced with washi tape. This is the back of the book.
I kept the inside really simple. I used Eileen Hulls Passport Die and cut eight double pages which i made into 4 little books and added using the elastic spine.
Here are just a few samples of what is inside
I made full use of the 7 Dots wording strips which I had in my own stash
and here you can see the pages standing upright. Although I haven't shown it these pages are all added using the black elastic i added to the spine.
I have already made 6 more of these and there are definitely more needed lol. x

Thursday 19 July 2018

Halloween in July

Well why not lol. Makes a change from making Christmas projects and although not everyone gets in the spirit of Halloween I bet we all have at least one photo of the children doing Trick or Treat.
So easy to make and will look fantastic at Halloween. I am looking for a mini book that my sister and I made for Halloween. If I ever find it I will be sure to share. OK now back to Christmas sigh xx

Wednesday 18 July 2018

Our Mermaid

The last of the class layouts today. Again the main focus was on the handmade embellishment, this time the beautiful mermaid.

The little sea horses were stamped onto the page  as were the bubbles which were then topped with stickles to make them sparkle.
The die cuts were all coloured using pro markers
and I also added some stickles onto the mermaids tail.
Still loving these papers x

Tuesday 17 July 2018

Sun, Sea, Sand

This is the first from the July Scrapping Your Family class. 
The idea was to make embellishments from scratch on each of the two layouts made in class. In this one it was the under the sea creating a scene through a porthole
The flying fishes were stamped, cut out and then added using 3d foam pads.
The additional star fish were also stamped and cut out
and the wording was done in a silver glitter alphabet which was also part of the kit. x

Monday 16 July 2018

Lots of surprises

Now this one took some doing. I loved the stamp and originally just added flowers onto the magnifying glass on the stamp. It was ok but I wanted to make it pop so i stamped and cut out the magnifying glass twice.
added acetate to the centre of the top piece raising it up on foam pads and putting 3d flowers underneath. It looks really cool.
I am going to try it again with butterflies I think. Great stamp this one and class loved it x

Sunday 15 July 2018

Oh I do Like to be beside the seaside

This months release of Creative Stamping magazine had an A4 sheet of fantastic holiday images. Everything you see is made from those stamps
I was really happy at the wording as well. These are great for card making but also for scrapbooking , mini books and mixed media.
I enjoyed using the bright colours with this set. I'm sure I will be using them again soon.xx

Saturday 14 July 2018

Thinking of you

I decided to used the raised foreground technique again after the success of the anniversary card last time. 
The background is pretty standard made using a shadow flower stamp and a green ink pad. The greetings banner is then added to the card using sticky foam pads and any main images are stuck to the banner making the card appear 3D. So simple yet so effective. The stamp is by PennyBlack and the shadow flower stamp is a free one from a magazine.x

Monday 2 July 2018

Choices, choices

It is funny how panic sets into a room of scrapbookers when they are given a choice of papers lol. This is what happened in class but I had to do two layouts because I had promised a male and female layout.
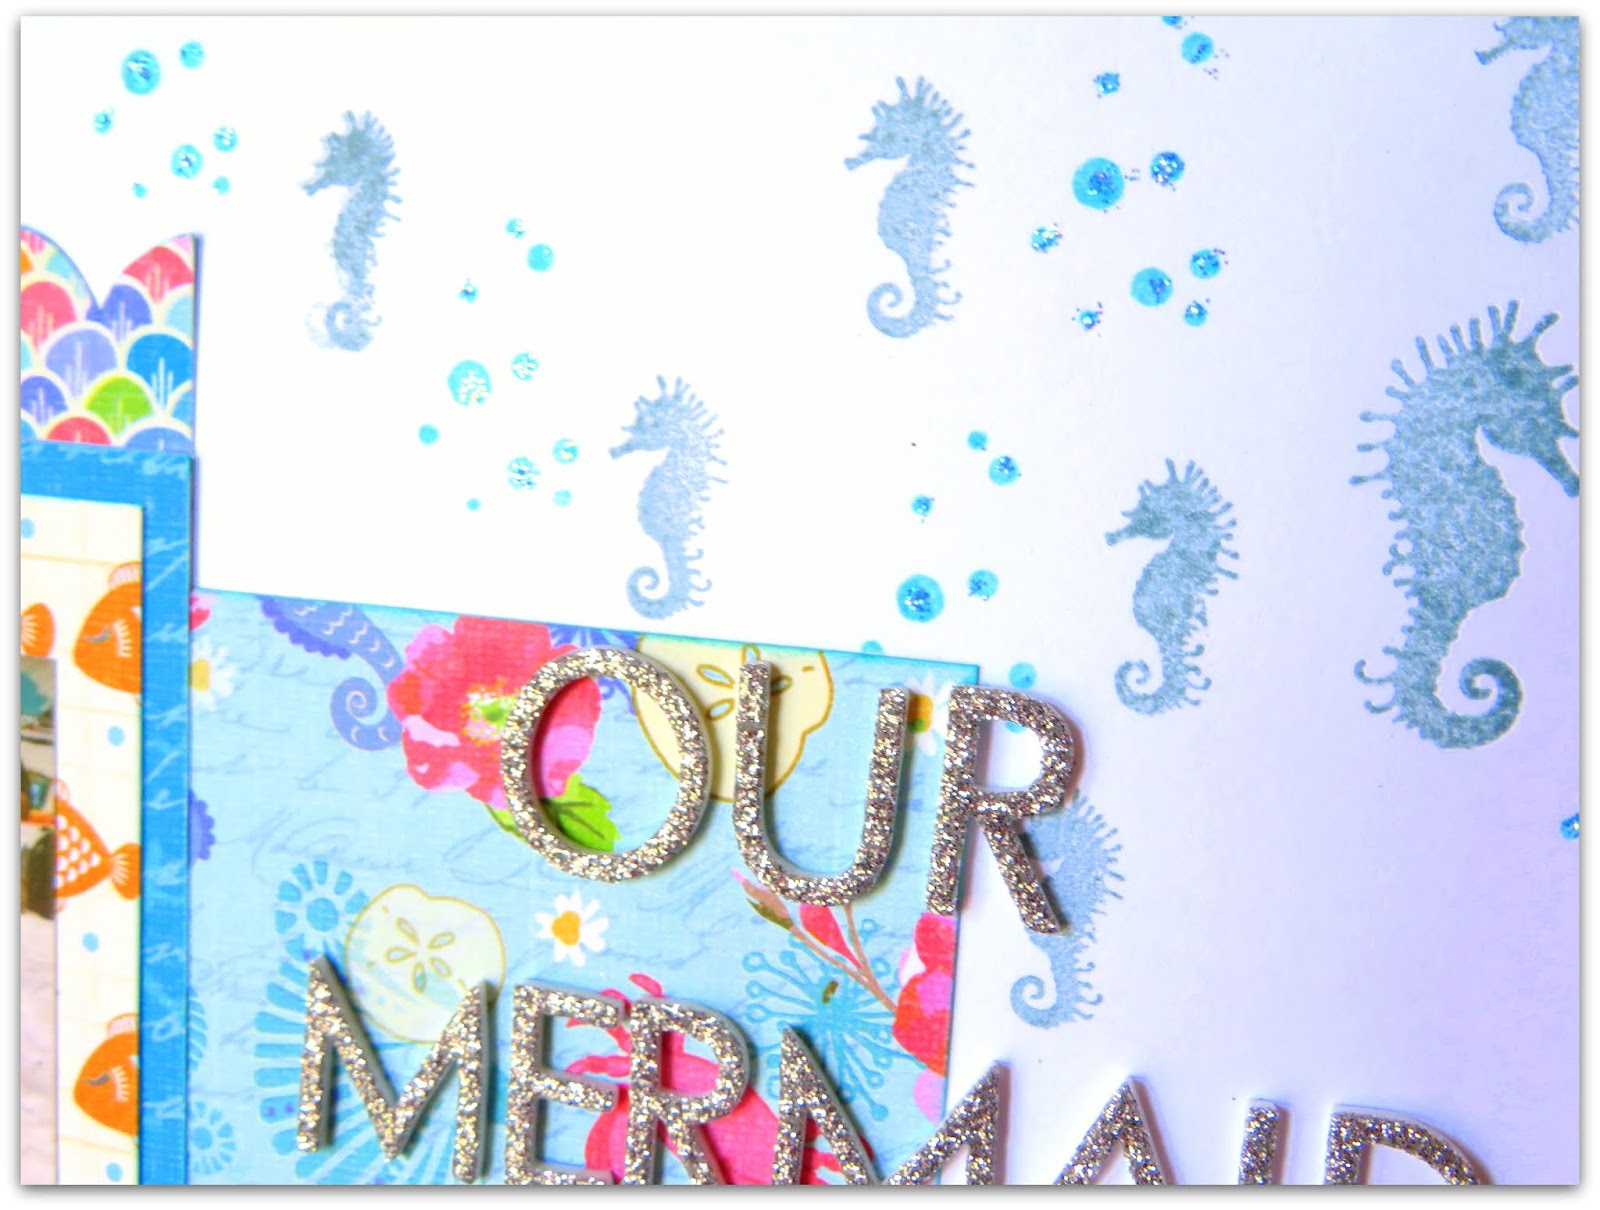
Here is the female one
This picture is of a lovely lady who is on one of the design teams I'm on. We met in person for the very first time at a local craft show but it was like meeting an old friend. The layout is simple and easy to follow.
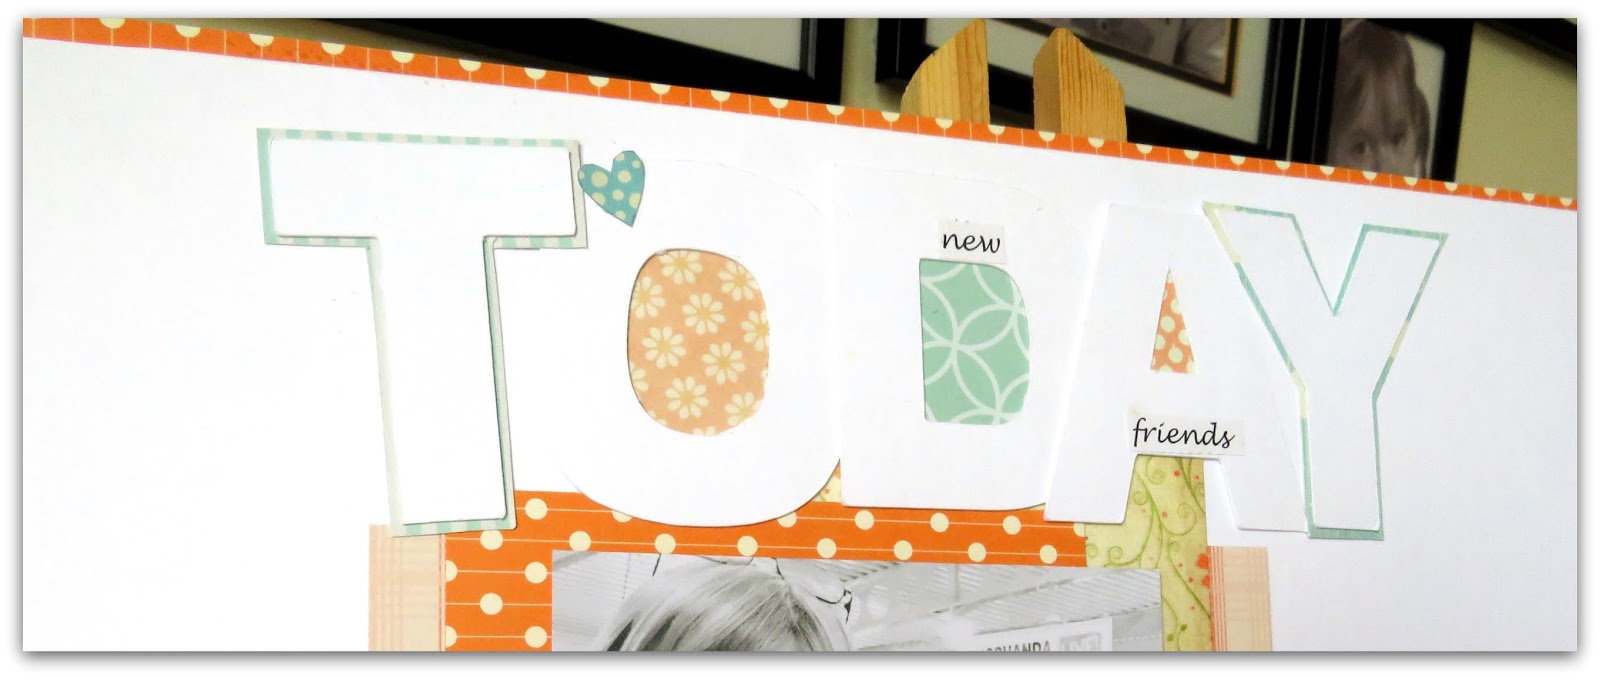
All of the hearts 
and lettering were hand cut (notice the tiny words printed on some of the letters)
and the tiny hearts were punched out.

Layout two was the men's one although it could equally be used as a travel layout
Luckily the wording for this one was on part of the paper and went really well.
The circles were again hand cut
as were the tiny little hot air balloons. Loved all of the papers this time. x